Seeing as you asked so nicely…
One of my favourite childhood memories was when a pack of freshly developed photos dropped through the letterbox. It was the one and only time we ever had to leg it to school because we were running late as we’d always have to rip ’em open, there and then, to see what was inside. Sometimes they were absolute crackers and pictures you’d forgotten were taken. Other times they were blurry, out of focus and a complete fail. But still, nothing beat the excitement of their arrival. My Mum was always very methodical about putting them into albums and would add the highlights into matching albums that she’d bought from Boots (a burgundy sleeve with gold rim detail – SO NINETIES!). Before my Dad made the switch to a digital camera and gave up on printing photos out, I think we reached about 25 albums that span from our births to around the age of 13.
To this day my excitement for printed photos hasn’t died down and just a couple of weekends ago I spent around four hours at my Grandparents house, as my Grandma talked through various different albums with me and my Grandad got out his old film camera to show Mark. Isn’t there just something so romantic about the whole thing?! I’m over the moon that Mark loves to shoot on film and since we began living together almost six years ago now, I’ve been pretty meticulous about organising them and setting up albums so we too will have something to flick through with the grandkids in the future. Here’s how I organise them…


Firstly you’ve got to print them out. I KNOW! How old school. Mark usually takes his film to be developed at the nearest Boots or Jessops and they do a pretty good job of turning them around quickly and copying the photos into a digital file too on a CD. The thing is, is that Mark doesn’t take his camera out all the time – more for holidays and special occasions – so often there are photos we’ve taken on our digital cameras or phones that could do with printing too. In those cases I use Snapfish. I first used the service back when I was at Uni and printed out 100+ photos in black and white to cover my wall with because it was the done thing (along with a Marilyn Monroe poster). Recently when I was thinking how we needed to print a few more photos for our honeymoon album I remembered the site, uploaded all the photos we needed on there and was really impressed with the price, speed of delivery and the quality. Whatever photo printing service you use I’d recommend taking a bit of time at the final step, to make sure you get the sizing right. I’d chosen to print all my photos as 6×4, but actually some of those taken on mobiles look less stretched if they’re printed smaller. On Snapfish they make a ‘best fit’ suggestion for you and I’d go for this as we didn’t end up with any duds that looked like they’d got drunk during the printing process.
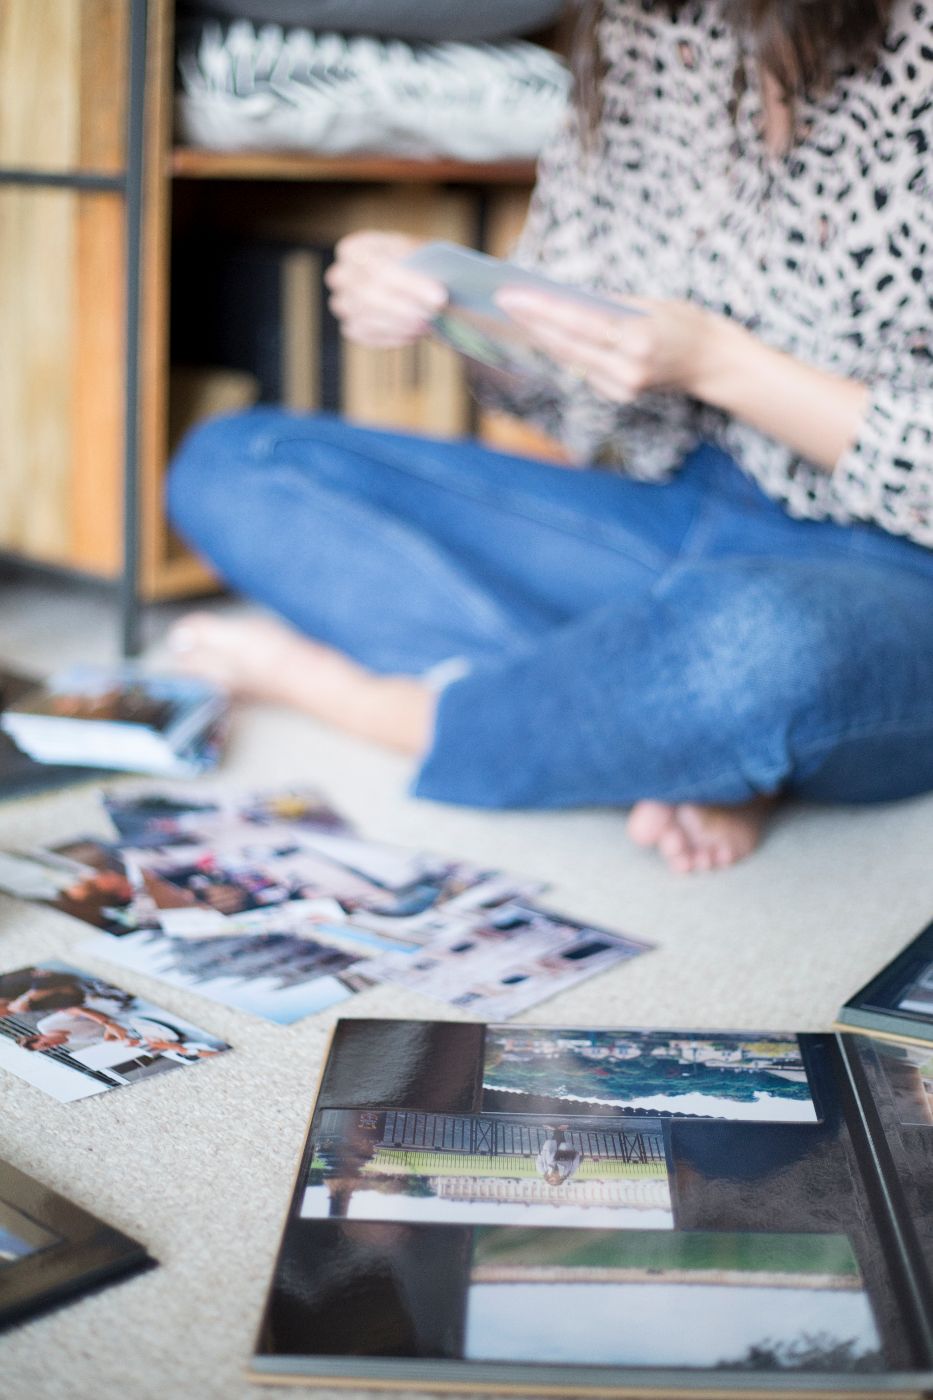
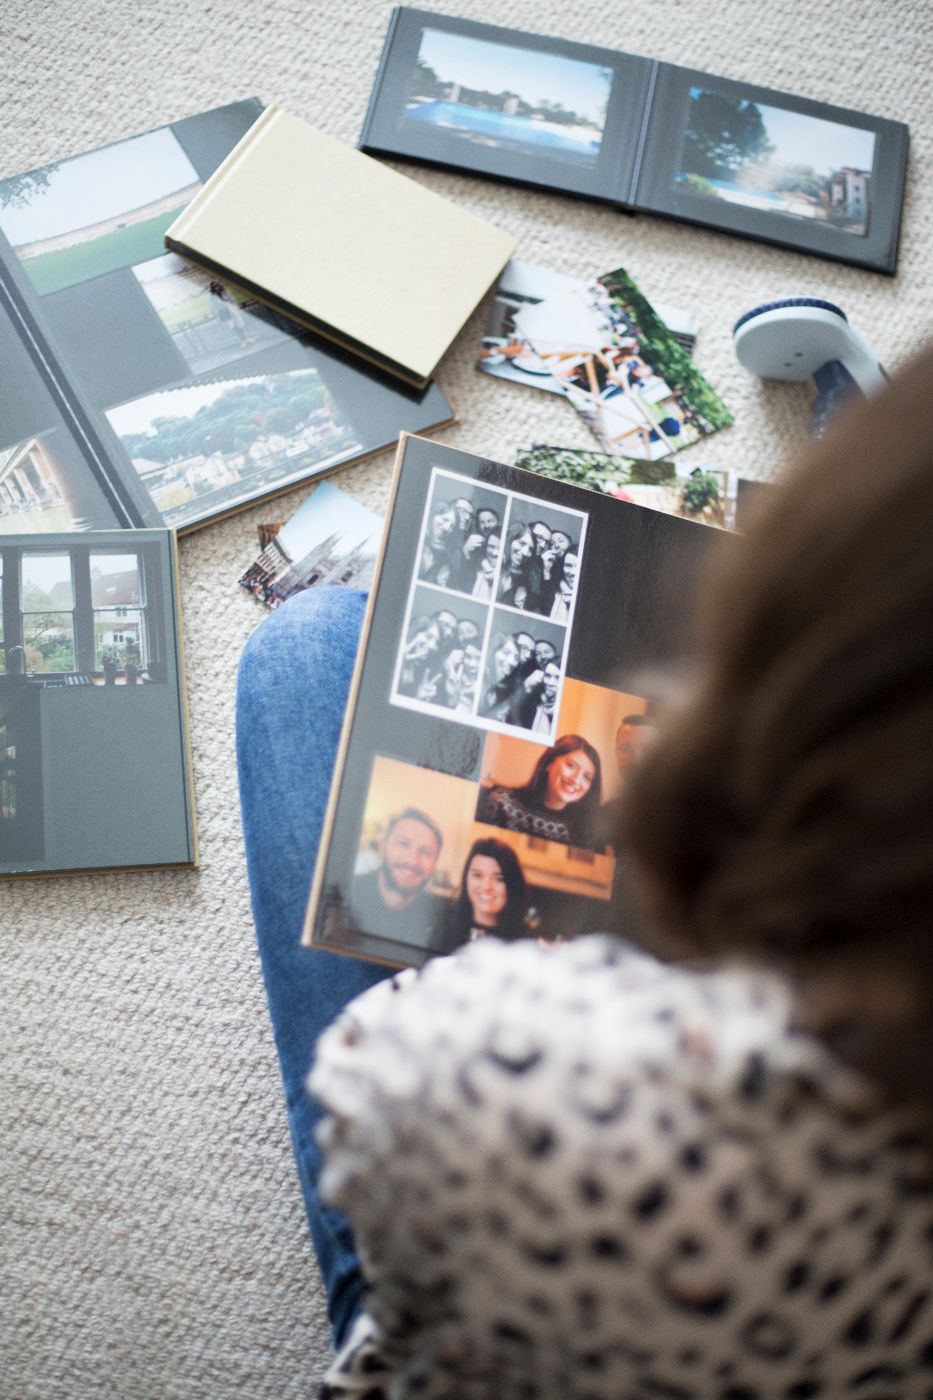
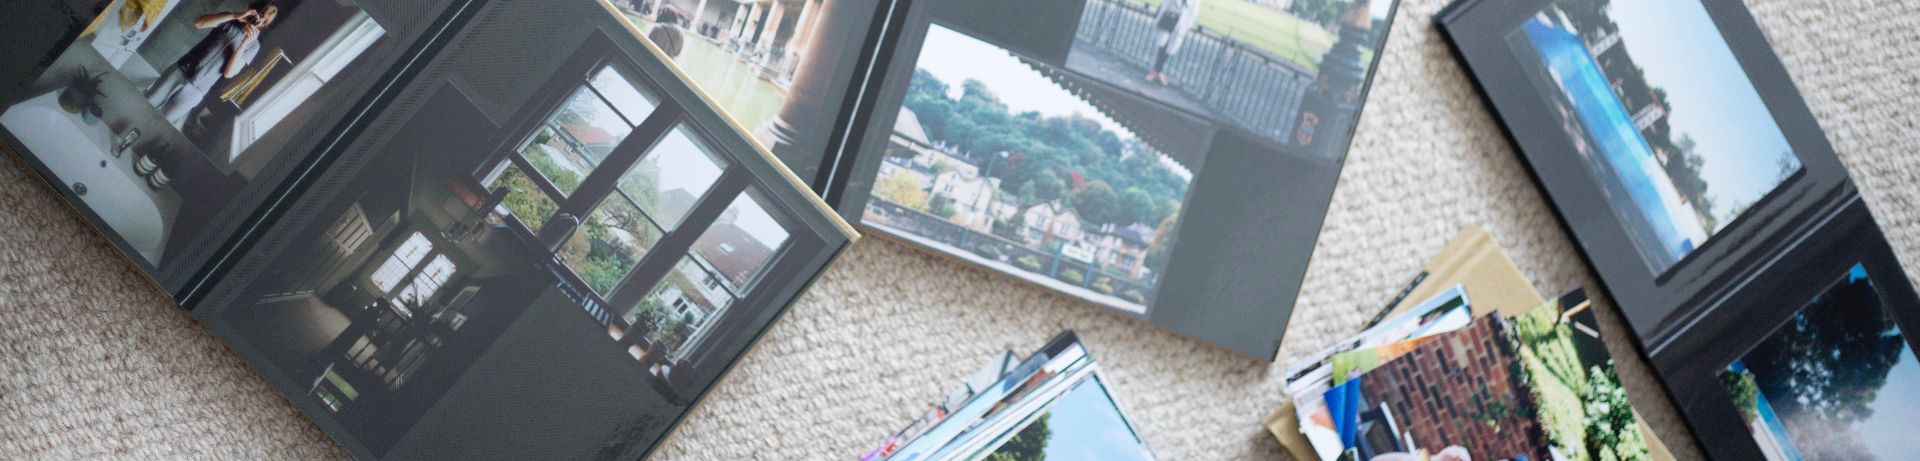
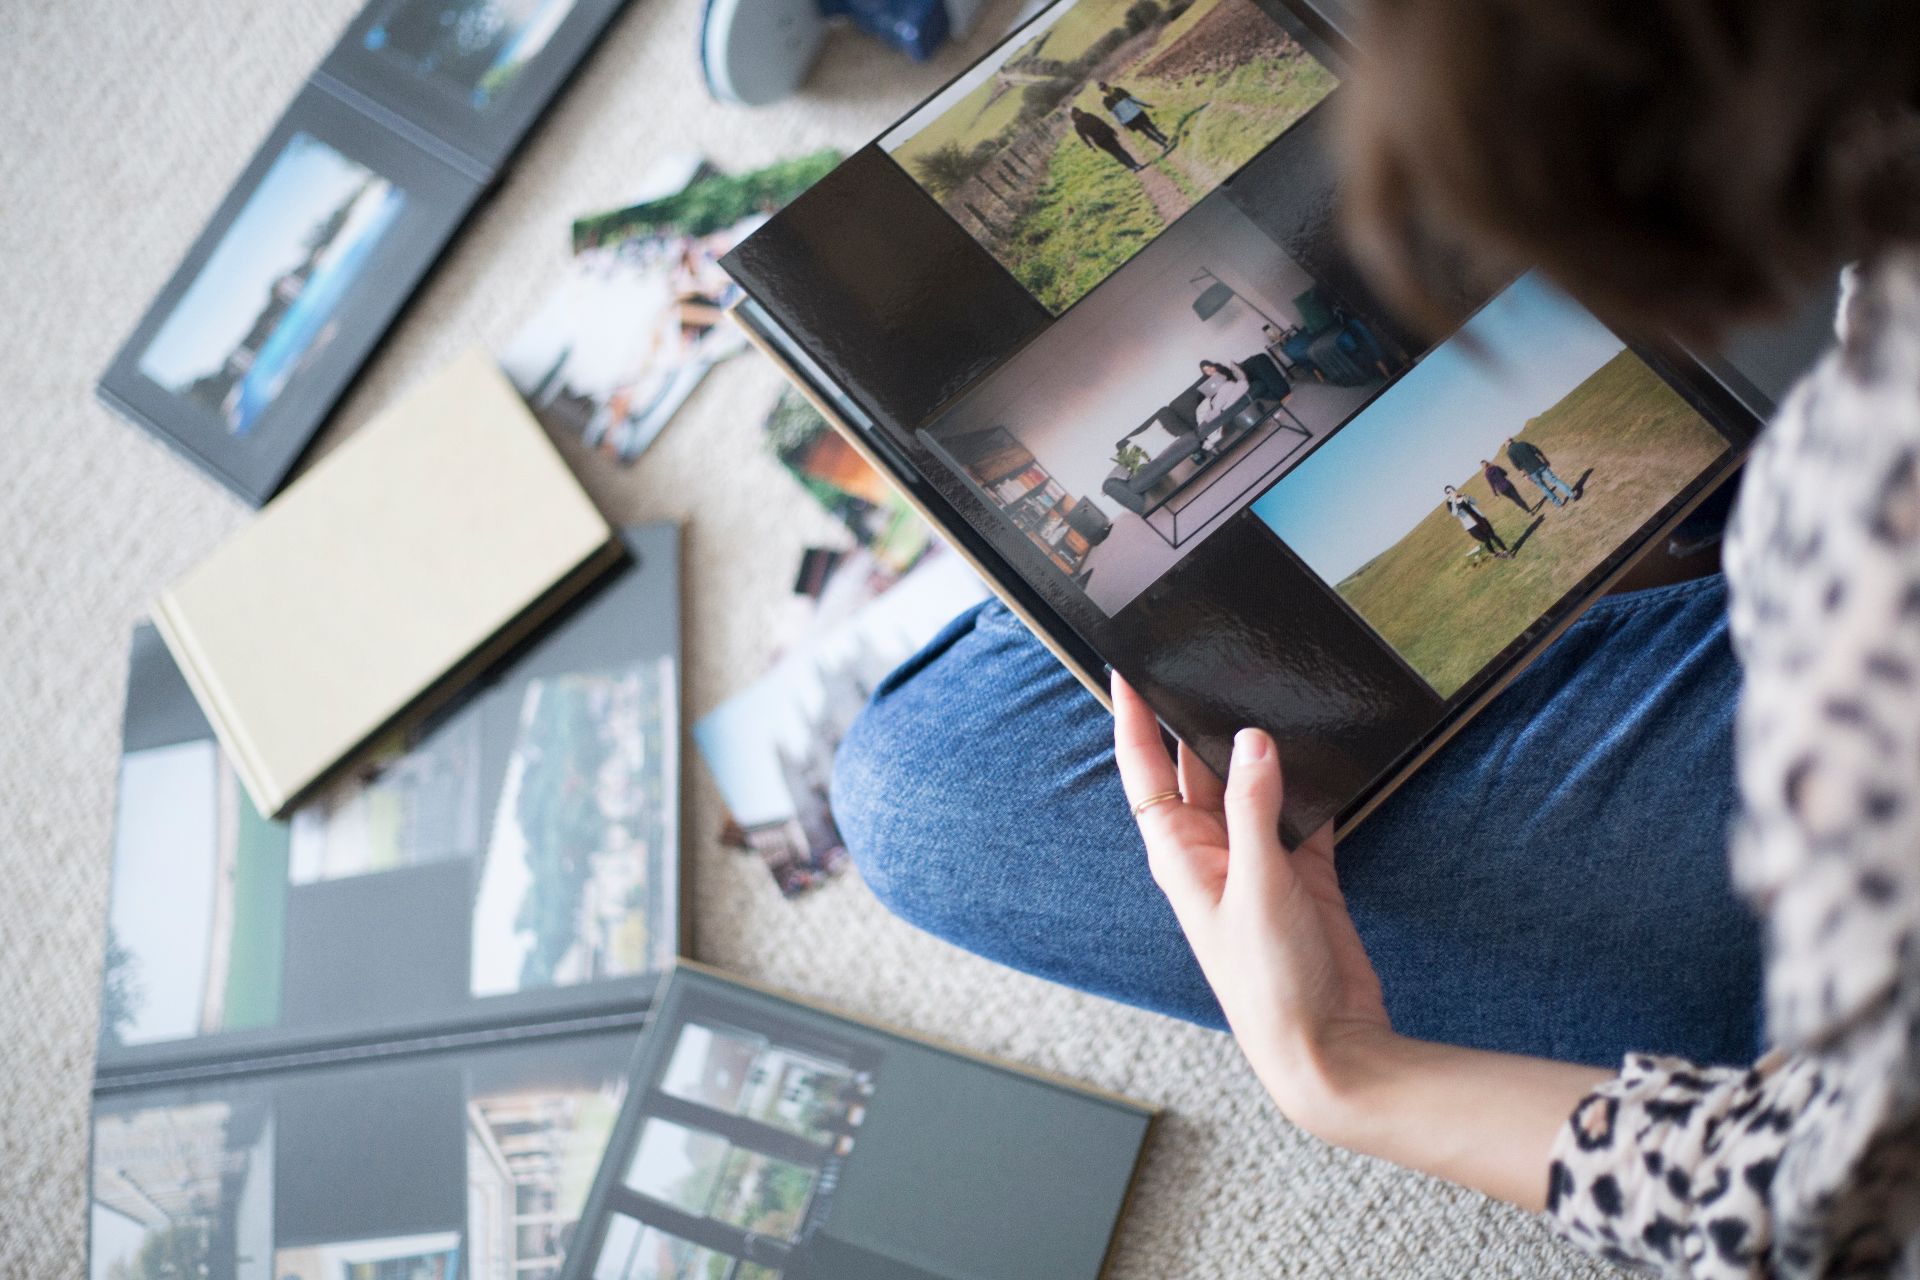
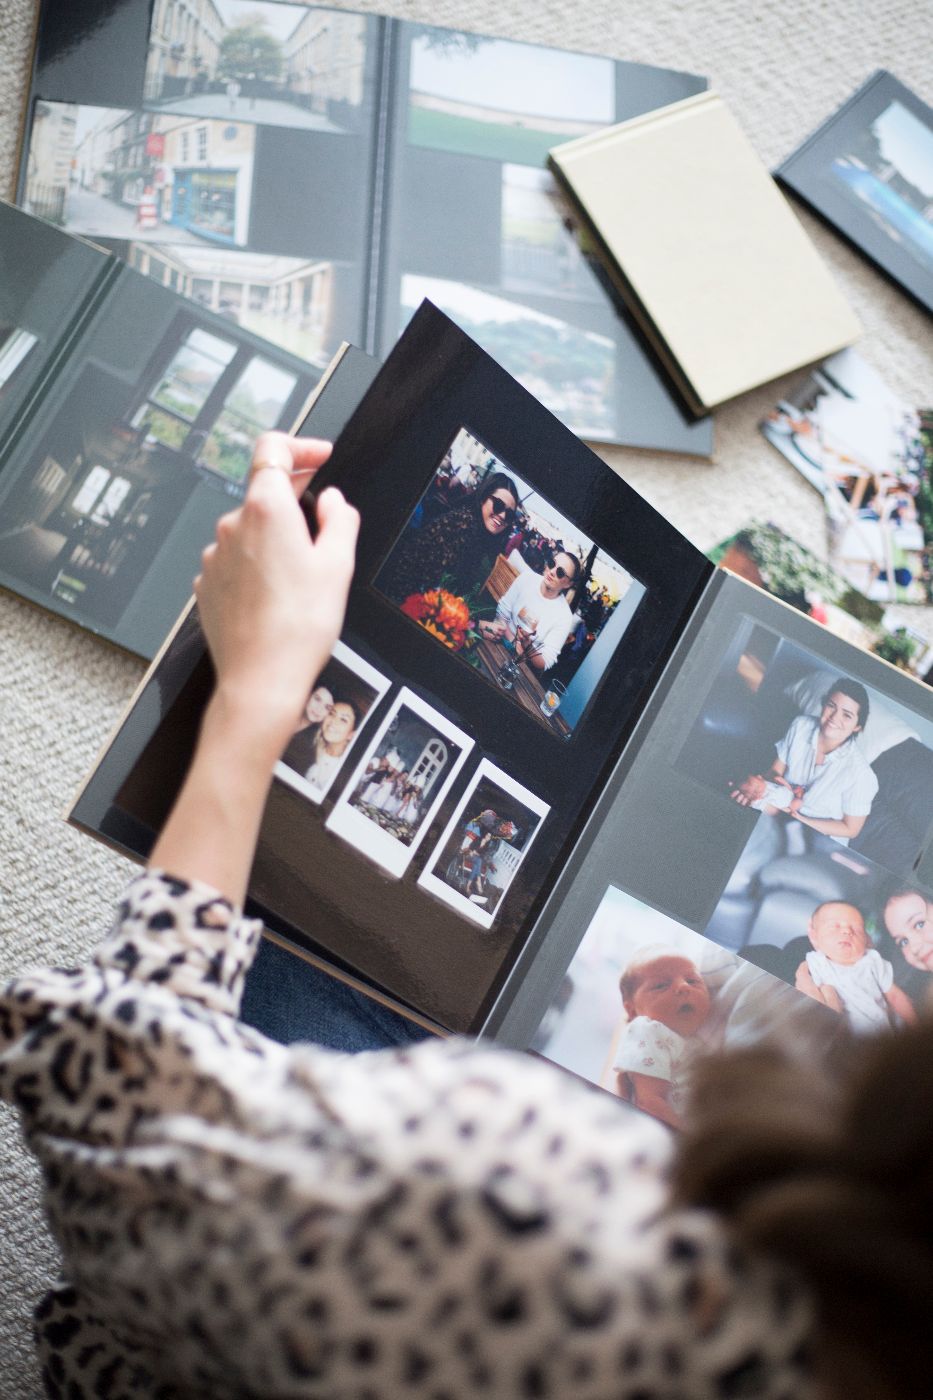
Right – onto the organisation step. Mark and I completed a big achievement last weekend as we finally finished our wedding album almost one year after the actual event. We did our New Zealand honeymoon album too (six months later – OOPS!) and it felt great and if you see me within the next six months I’m going to force you to look at them. Big events like that are easy to section off and I use the Large Self Adhesive Photo Albums for them. I like to arrange them in chronological order, add in any little scrapbooking bits that we might have collected on the way and then arrange them in piles on the floor so I know what photos I’m going to put on each page so I know we can fill the whole thing and I’m not wasting page space. If your album is really long then number post-its with the page numbers on the floor, with what photos you plan to put on each one so you can keep track of how each page is going to look. When it comes to other photos that Mark takes on film, we split them into two categories: holidays and candids that we put into the Kraft Square Self Adhesive Album. Holidays is pretty self explanatory; we just keep big albums and slot in the next batch of holidays photos as they come. Sometimes if it was a smaller trip or if we’d like it to have an album of it’s own, we’ll pop them into a Mini Self Adhesive Album. The same rule goes for the candid shots which is basically just random pictures of weekend visits with family and friends. We pop them in a chronological order into an album and leave it there.
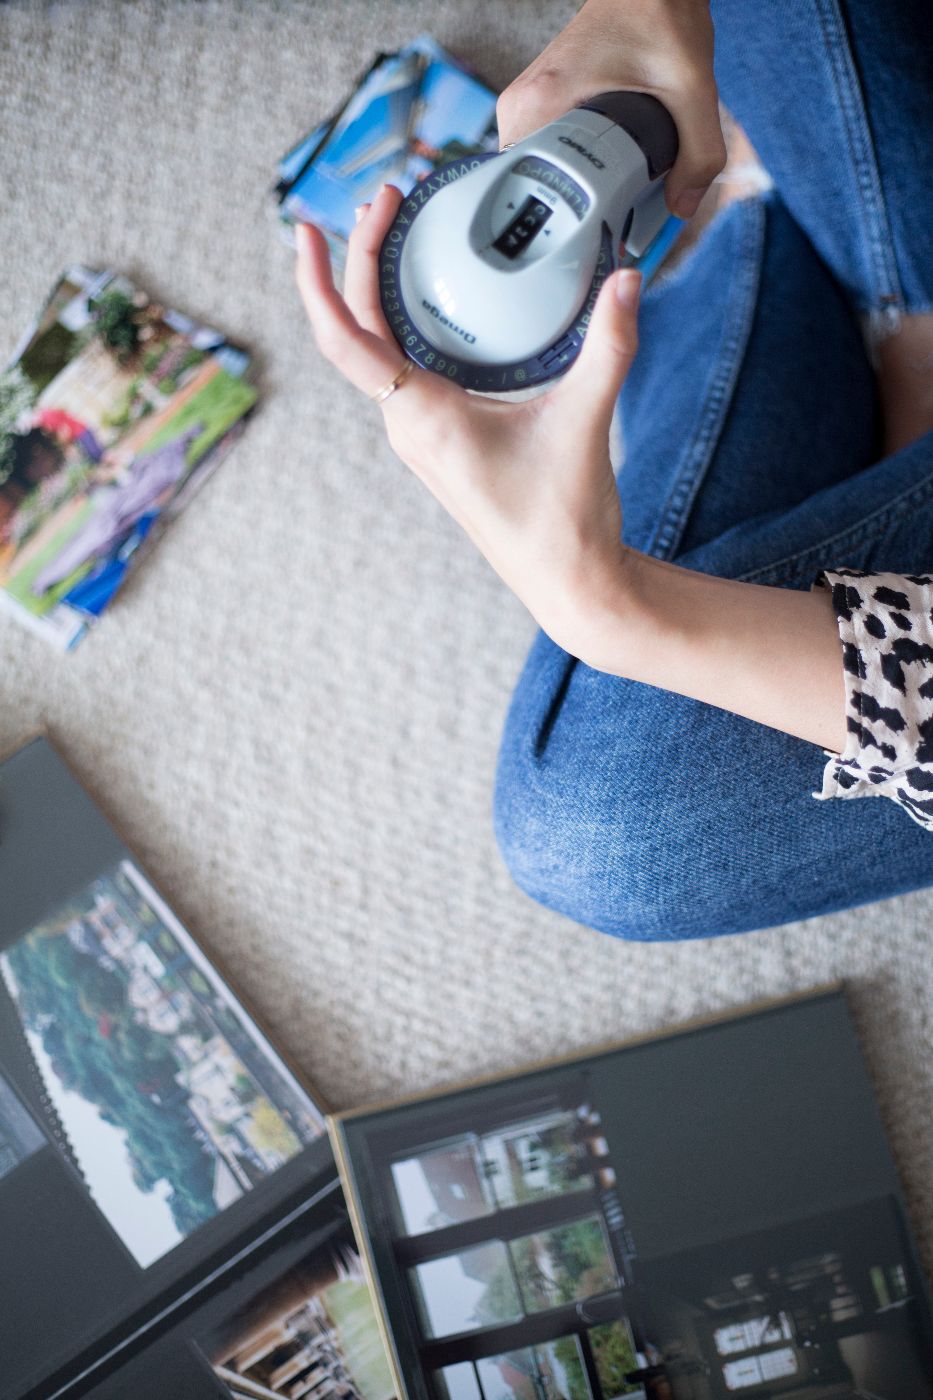
So the label maker? Where does that come in? Well, firstly here’s the link for the one that I use because I think that’s the most frequently asked question I receive, and I can hand on my heart say that it’s one of the best Amazon purchases that I’ve ever made. Not only does it come in handy for organising photo albums, but I also use it in all different spots in the flat. If there’s an unnamed jar or drawer, LET ME AT IT. In terms of the photo albums though, the last thing that I do is label the spines with the relevant titles ‘CANDIDS 2016-208’ for example, so everything is easy to find, should we not want to have to flick through every single album to find a specific photo. I also add in little labels into the holiday album too on the relevant page, a label for where we’ve visited and a label for the year. See, that’s less labelling than you thought right? Still love it though. I <3 MY LABEL MAKER 4EVZ.
Photos by Amber Tanc
*Sign up to my monthly newsletter ‘An Edited Life’ here*


Comments